
Varun Katyal | Founder, Clapboard
Varun Katyal is the Founder & CEO of Clapboard and a former Creative Director at Ogilvy, with 15+ years of experience across advertising, branded content, and film production. He built Clapboard after seeing firsthand that the industry’s traditional ways of sourcing talent, structuring teams, and delivering creative work were no longer built for the volume, velocity, and complexity of modern content. Clapboard is his answer — a video-first creative operating system that brings together a curated talent marketplace, managed production services, and an AI- and automation-powered layer into a single ecosystem for advertising, branded content, and film. It is designed for a market where brands need content at a scale, speed, and level of specialization that legacy agencies and generic freelance platforms were never built to deliver. The thinking, frameworks, and editorial perspective behind this blog are shaped by Varun’s experience across both the agency world and the emerging platform-led future of creative production. LinkedIn: https://www.linkedin.com/in/varun-katyal-clapboard/

Fundamentals of Storyboarding Camera Movement
What are the main types of camera movement?
Every storyboard camera movement starts with a clear understanding of the basic moves: pan (horizontal pivot), tilt (vertical pivot), dolly (physical camera movement in or out), tracking (side-to-side movement following a subject), pedestal (vertical lift), and zoom (adjusting focal length, not position). These moves aren’t just technical flourishes—they define how a story breathes, how it guides the viewer’s attention, and how energy flows from shot to shot.
Storyboard camera movement terminology explained
In practice, storyboards use both visual cues and written shorthand to communicate intent. Arrows indicate direction: a curved arrow signals a pan or tilt, while straight arrows often mean dolly or tracking moves. “Dolly in,” “track left,” or “zoom out” are written alongside panels. Standardized terminology—like “pedestal up” or “crane down”—keeps everyone aligned, from director to camera operator to client. Ambiguity kills efficiency; clarity in movement language saves time and prevents costly misinterpretation on set.
Differences between static and dynamic storyboard panels
Static shots—locked-off frames with no camera movement—are depicted as fixed images, often with no arrows or movement notes. Dynamic shots, by contrast, demand explicit notation. Movement lines, sequential panels, or annotated instructions show how the camera travels through space or reframes action. The distinction matters: static panels communicate stability or tension, while dynamic panels pre-visualize momentum, reveal, or emotional shift. Nailing this at the storyboard stage is foundational for both creative intent and production planning.
Why Storyboard Camera Movement Matters in Modern Filmmaking
Storyboard camera movement isn’t just a technical exercise—it’s the backbone of visual storytelling in today’s productions. The days of static, comic-strip panels are gone. Modern filmmaking demands dynamic visual plans that map not only what the audience sees, but how they see it. With camera movement now central to everything from commercials to branded content, storyboards must evolve to match the ambition of the work.
How storyboard camera movement influences pre-production
When you storyboard camera movement, you’re not just drawing frames—you’re establishing intent. Every pan, tilt, or dolly shot needs to be communicated before a single light is rigged. This process sharpens pre-production planning, allowing directors, cinematographers, and producers to stress-test ideas before they hit the floor. It’s how you avoid costly missteps and keep creative energy focused where it counts.
The role of camera movement in storytelling
Camera movement is narrative. A slow push-in can build tension; a whip pan can signal urgency. If these moves aren’t visualized early, the story loses its edge. Storyboarding these choices ensures the visual language is deliberate, not improvised. It’s the difference between a shot that feels inevitable and one that feels accidental.
Common communication breakdowns without proper storyboarding
Without clear storyboards showing camera movement, filmmaking communication suffers. Creative teams talk past each other. Technical teams misinterpret intent. On set, confusion reigns—wasting time, budget, and goodwill. Storyboarding camera movement bridges these gaps, aligning vision and execution from the first meeting to the final cut.
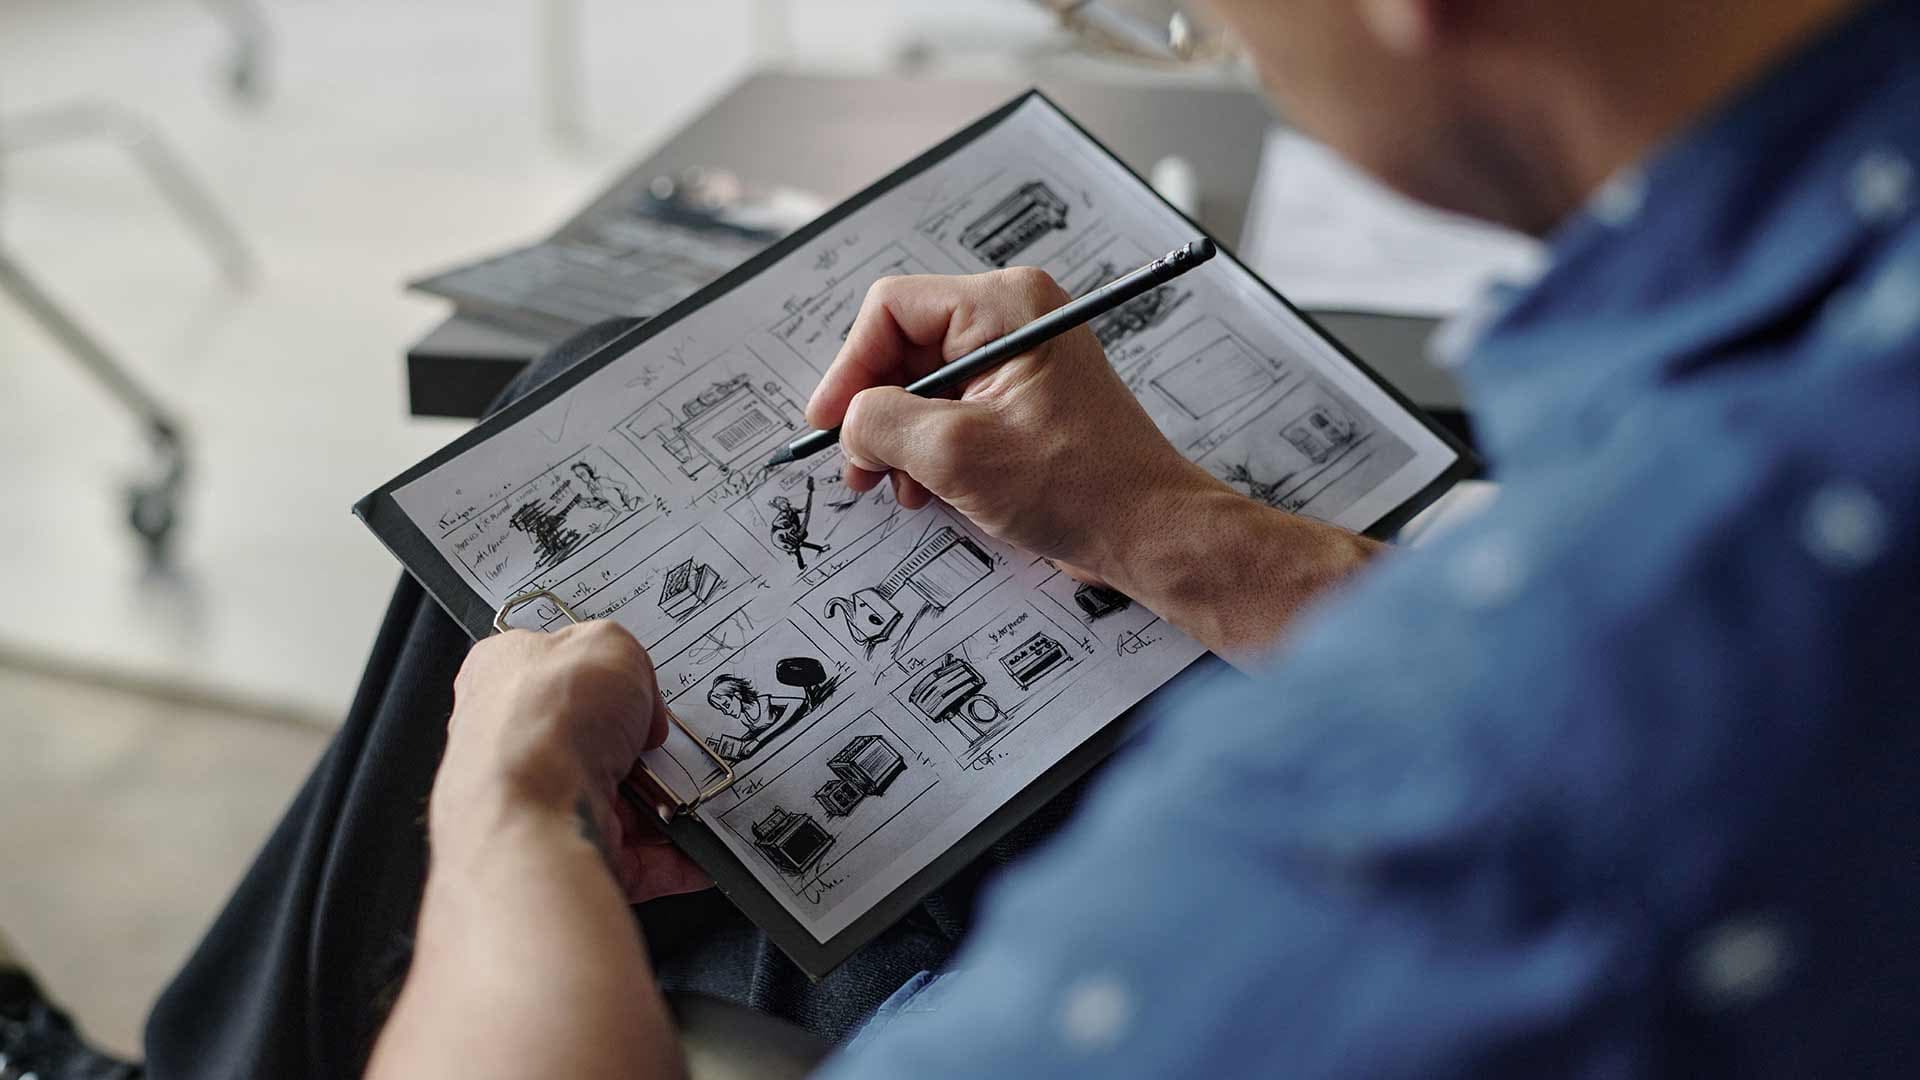
Techniques for Depicting Camera Movement in Storyboards
How to draw storyboard arrows for camera movement
Depicting camera movement in storyboards demands clarity and precision. The industry standard is to use storyboard arrows—simple, bold lines that indicate the direction of the camera’s motion. For pans, a curved arrow sweeps across the panel; for tilts, a vertical arrow points up or down. Zooms are marked with arrows pointing toward or away from the subject, often annotated with “zoom in” or “zoom out” for absolute clarity. The key is to pair these arrows with concise shot descriptions, so there’s no ambiguity between what the camera does and what the subject does. This dual coding—visual and textual—keeps the intent intact from pre-production through post.
Visual conventions for showing movement in storyboards
Motion lines, directional icons, and storyboard arrows aren’t decorative—they’re a language. For a dolly in, arrows in all four corners of the panel point inward, signaling the camera’s physical advance toward the subject. This visual distinguishes camera movement from subject action and eliminates guesswork on set (Beyond the Process, 2024). Tracking shots, meanwhile, use lateral arrows along the frame’s edge, showing the camera’s path relative to the environment. Consistency in these conventions is non-negotiable: every member of the production team reads the same visual cues, which keeps the project moving at pace.
Best practices for clear movement depiction
Manual or digital, the principle is the same—clarity trumps style. Use arrows and directional labels to indicate camera movement and orientation, always aligning them with the frame’s geography (LTX Studio, 2023). Avoid overcrowding panels: too many symbols dilute meaning. If you’re working digitally, layer movement icons cleanly so they don’t obscure the action. The goal is a storyboard that reads instantly, whether it’s pinned to a wall or shared in a PDF. When everyone sees the same movement, the set runs smoother and creative intent survives the translation from page to lens.
Decision-Making: When and How to Annotate Camera Moves
Which camera moves should be annotated in storyboards?
Annotating camera movement in storyboards is less about cataloguing every possible motion and more about clarifying intent. Not every shot warrants a movement note. The shots that demand annotation are those where motion is integral to the narrative, reveals a joke, or directs the audience’s eye to critical story elements. Gratuitous movement, especially in every frame, dilutes impact and can lead to visual confusion (Skwigly Animation Magazine, 2010). In practice, reserve movement notes for pans, tilts, dollies, or tracking shots that fundamentally change the viewer’s relationship to the scene.
How much detail is too much in storyboard movement notes?
There’s a fine line between helpful specificity and over-complication. Excessive storyboard detail can bog down pre-visualization and slow creative decision-making. Annotate only what is essential for communicating the shot’s rhythm and intent. Arrows and concise written notes suffice for most commercial and branded work. For narrative or VFX-heavy projects, a touch more granularity may be justified, but even then, clarity trumps density. If the movement is obvious from context or staging, let the image breathe—don’t annotate for annotation’s sake.
Customizing movement annotations for your project
Genre, scene type, and production scale all influence how you annotate storyboards. A dialogue-heavy commercial might need only a handful of movement notes, while a high-concept music video could justify more elaborate annotation. Custom movement notes—like a dolly-zoom or a whip-pan—should be reserved for moments where the move is non-standard or central to the creative vision (StudioBinder, 2023). Ultimately, annotate to serve the cut, not to impress the reader. Good boards are lean, purposeful, and readable under pressure.
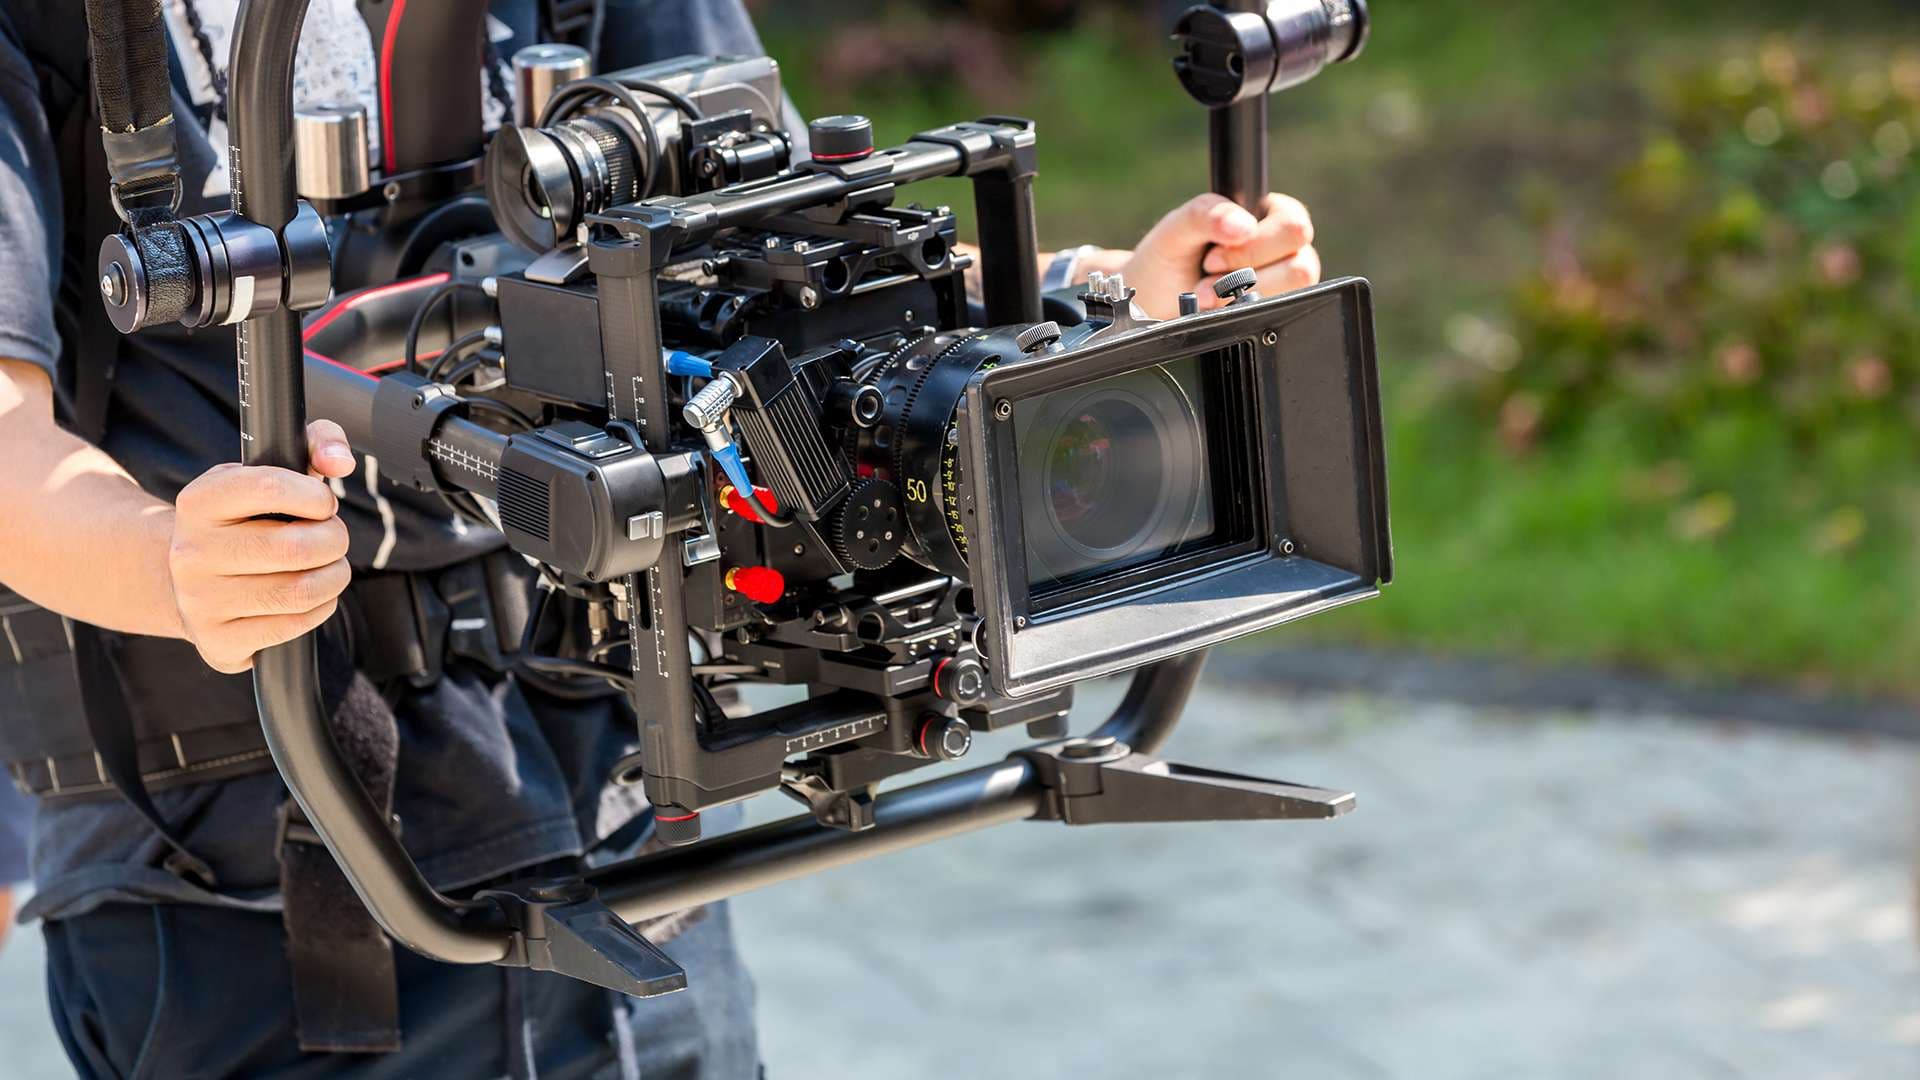
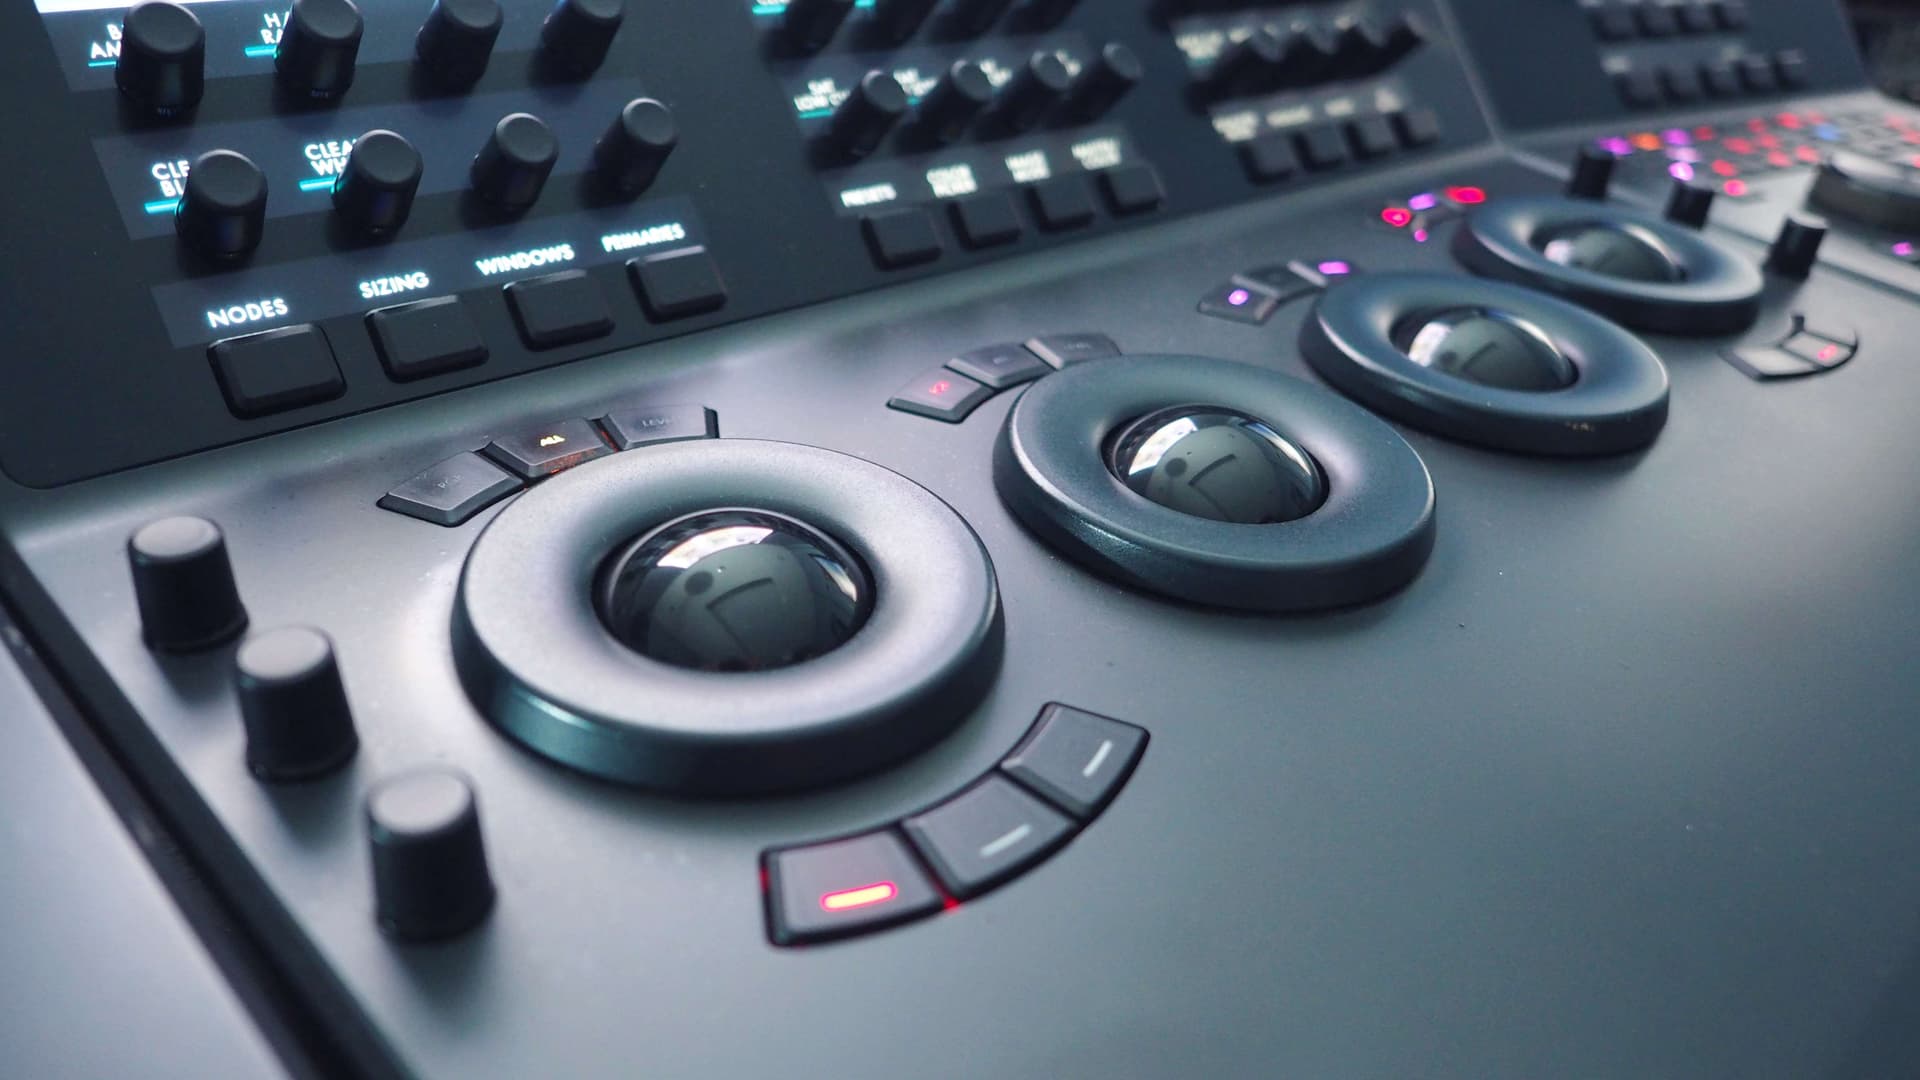
Storyboard Camera Movement in Digital Tools and Software
How storyboard camera movement is handled in software
Storyboard camera movement software has fundamentally changed how directors, DPs, and creative leads communicate intent. Unlike paper, digital storyboarding tools let you tag every frame with precise movement cues: pans, tilts, push-ins, handheld energy. Dropdowns and custom fields make these choices explicit—no more scribbled arrows open to interpretation. The result is clarity, especially when translating vision to crew or clients who don’t speak in shot lists.
Best digital tools for storyboarding camera movement
Leading storyboard apps now build movement directly into their interface. You can add camera moves as metadata, overlay directional arrows, and even preview transitions between frames. Some digital production tools let you drag and drop movement icons or use templates for common moves. Export options are robust: annotated PDFs, interactive presentations, or direct upload to cloud platforms—each keeping movement data intact for downstream teams.
Collaborative workflows for movement annotation
Modern storyboard camera movement software isn’t just about individual precision—it’s built for collaboration. Real-time editing means directors, agency producers, and DPs can refine boards together, even remotely. Comments and versioning streamline feedback. When movement is marked up digitally, revisions become a matter of toggling options, not redrawing frames. This accelerates approvals and minimizes miscommunication, especially on projects with tight timelines and multiple stakeholders.
For teams balancing creative ambition with production realities, digital storyboarding tools are no longer optional. They’re the connective tissue between vision, logistics, and execution. The right software doesn’t just illustrate movement—it makes it actionable, collaborative, and impossible to misread.
Common Pitfalls and Creative Opportunities in Storyboard Camera Movement
What not to do with storyboard camera movement
Most storyboard camera movement mistakes stem from two extremes: overcomplicating, or barely communicating at all. Layering on unnecessary arrows, jargon, or elaborate movement diagrams can muddy intent and paralyze decision-making. On the flip side, a single lazy arrow with “push in” scribbled beside it tells nobody what the shot should feel like. The board must serve the shot, not the other way around.
Innovative ways to use movement in storyboards
Creative storyboarding isn’t about inventing new symbols—it’s about visualizing movement that’s motivated and meaningful. Sometimes, that means breaking the frame: using layered panels to show a camera move through space, or juxtaposing before-and-after perspectives to clarify intent. Smart boards anticipate edit rhythm, not just camera placement, and are explicit about what the audience should experience, not just what the lens does.
Learning from common storyboard movement errors
Ignoring the audience’s perspective is a frequent blind spot. Movement that makes sense technically can still disorient or distract if it doesn’t track with the viewer’s emotional journey. The most effective boards are built from real-world feedback—reviewing animatics, rough cuts, and even on-set improvisations to see where the original plan failed or soared. Every mistake is a chance to refine your visual storytelling techniques.
In the end, clarity trumps cleverness. The best creative storyboarding doesn’t just map out camera moves—it choreographs the viewer’s engagement, avoiding common errors and pushing the medium forward with intent.
Conclusion
Storyboard camera movement is more than a technical exercise—it's the silent language that shapes visual storytelling before a single frame is shot. For filmmakers, producers, and creative leads, the discipline of mapping camera intent in storyboards is a lever for clarity. It transforms abstract ideas into actionable sequences, bridging the gap between creative ambition and on-set reality. This process isn’t just about drawing arrows or blocking shots; it’s about orchestrating how an audience will experience the narrative, emotion, and rhythm of a piece.
Effective storyboarding elevates filmmaking communication. When camera movement is clearly visualized in pre-production planning, every department—from lighting to production design—can anticipate and align with the director’s vision. There’s less ambiguity, fewer surprises, and a faster path to consensus. This shared visual language accelerates decision-making and reduces the risk of costly missteps, especially when timelines are tight and stakes are high. It’s a safeguard against misinterpretation, ensuring that everyone from agency creatives to on-set technicians is working from the same blueprint.
Ultimately, the craft of storyboarding camera movement is foundational to successful filmmaking. It’s where creativity meets discipline, and where great ideas become executable plans. The best work—whether in commercials, branded content, or narrative film—relies on this intersection. It’s not just about making pretty pictures; it’s about making the right pictures, together. In a business that rewards both vision and precision, storyboarding remains the unsung engine driving projects from concept to screen.
FAQs
How to storyboard camera movement?
Start by breaking down each shot’s intent. Visualize the path the camera will travel—track, pan, tilt, or crane. Sketch the key frames that anchor the movement and use directional arrows and concise notes to clarify motion. The goal is to communicate the rhythm and purpose of each move, not just its mechanics.
What are the main types of camera movement?
The primary camera movements are pan (horizontal pivot), tilt (vertical pivot), dolly (physical camera movement), truck (side-to-side movement), crane (vertical lift), and zoom (lens-based magnification). Each one serves a distinct narrative or emotional function—choose deliberately to match story needs.
How to draw storyboard arrows for camera movement?
Use bold, clear arrows to indicate direction—curved for pans and tilts, straight for dolly or truck moves. Pair arrows with brief labels if needed (“PAN LEFT,” “DOLLY IN”). Consistency across panels helps the crew and client read your intent at a glance.
What is the difference between static and dynamic storyboard panels?
Static panels depict a locked-off shot—no camera movement. Dynamic panels illustrate motion, often with multiple frames or overlays showing the start, path, and end of a move. Dynamic panels are essential when timing and choreography are key to the shot’s impact.
How much detail is too much in storyboard movement notes?
If the movement note clarifies intent and logistics without clutter, it’s useful. Overloading panels with technical jargon or excessive detail bogs down communication. Prioritize clarity—enough to guide the team, not overwhelm them.
What are common errors in storyboard camera movement?
Frequent mistakes include ambiguous arrows, conflicting notes, or omitting the start/end points of a move. Another pitfall: treating camera movement as an afterthought, rather than integrating it with narrative beats and blocking.
How can software improve storyboard camera movement?
Digital tools allow for animated panels, layering, and easy revisions. They help visualize complex moves and share updates quickly. Software can also standardize notation, reducing miscommunication between departments and streamlining the pre-production process.


LEAVE A COMMENT
Your email address will not be published.